 ( 337 ) 28-May-2013
After the epoxy has set I clean up the squeeze out.
Cocobolo Body 15 inch lower bout
Adirondack Spruce Top
Lion Theme Marquetry
Mahogany Neck
Ebony Fretboard
Gold Frets & Gotoh Tuners
Padauk
Binding
25.4 Inch Scale Length
( 337 ) 28-May-2013
After the epoxy has set I clean up the squeeze out.
 ( 338 ) 28-May-2013
I heat up the epoxy to make it soft and easier to scrape clean.
 ( 339 ) 28-May-2013
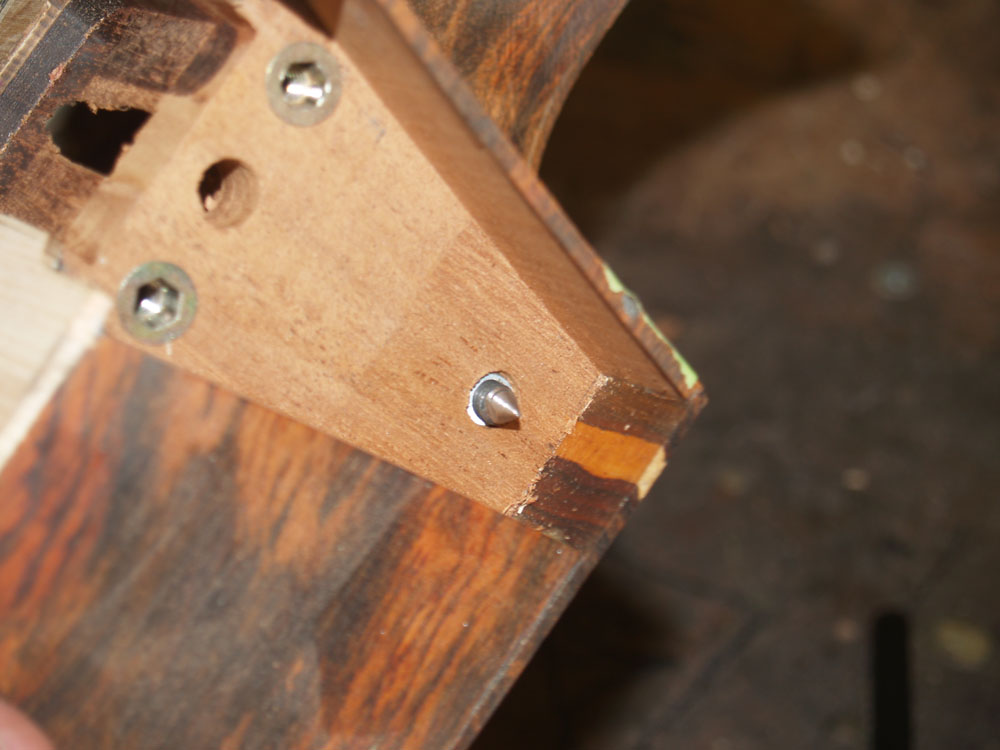
I have installed a pointed bolt in the neck adjustment insert. When I press the neck into the channel it will leave a small hole where the neck adjustment hardware should be located.
 ( 340 ) 28-May-2013
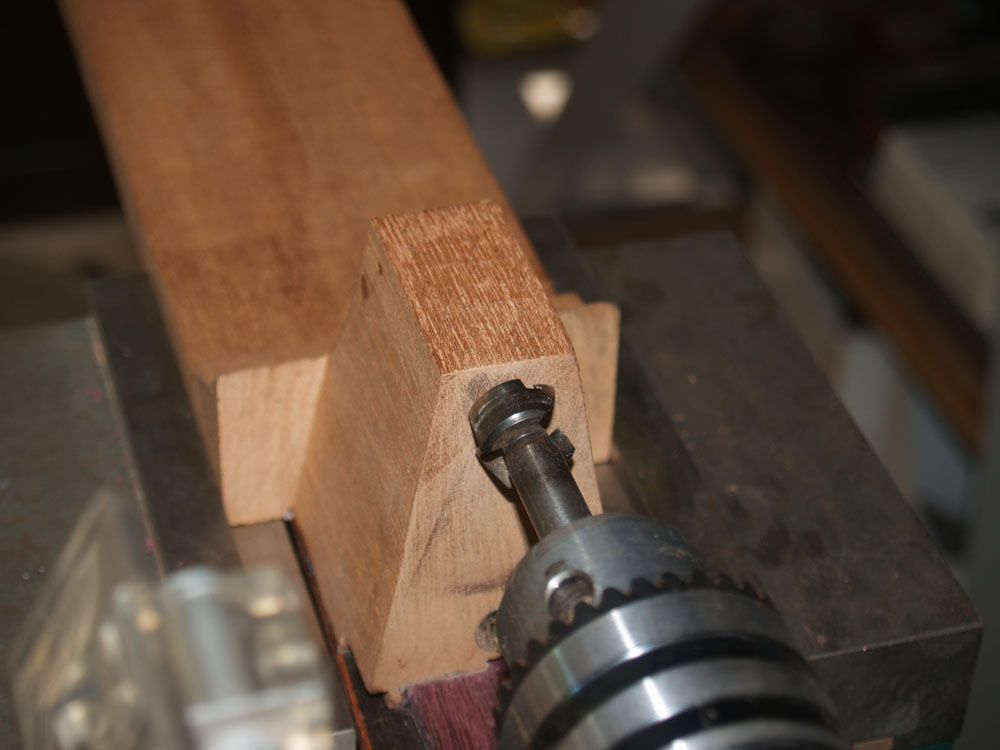
I have set up the milling machine to perform a lateral drilling.
 ( 341 ) 28-May-2013
Here I am drilling the hole for the adjustment hardware.
 ( 342 ) 28-May-2013
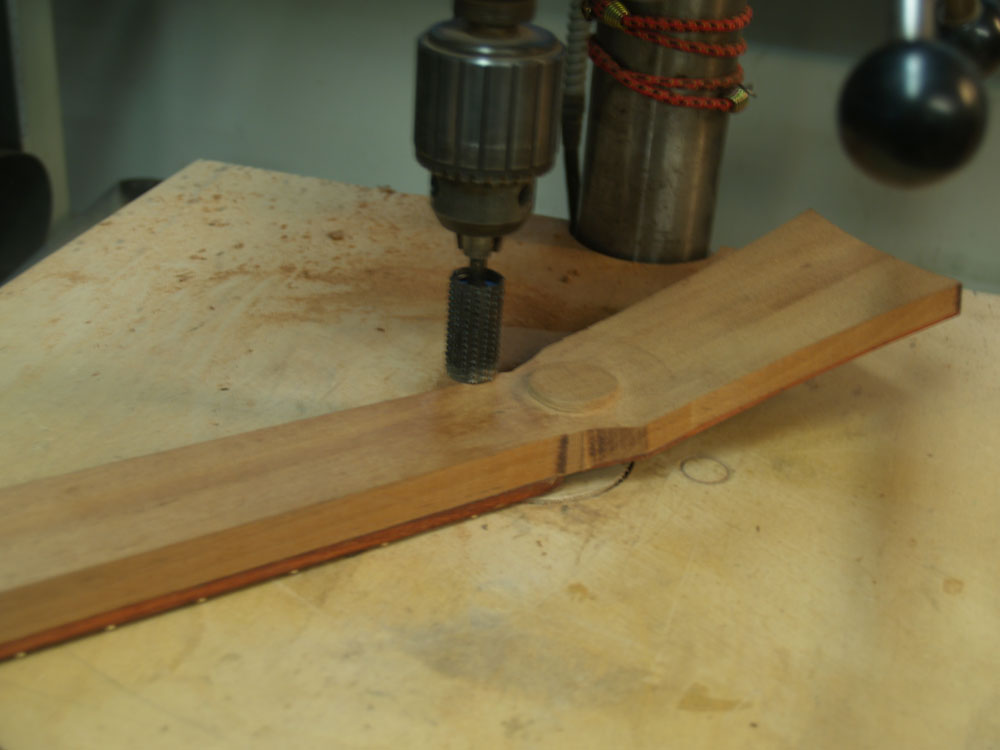
Without moving anything I have replaced the Forstner bit with a drill bit.
 ( 343 ) 28-May-2013
And I drill a hole through the heel for the neck adjustment access.
 ( 344 ) 28-May-2013
The O-ring, washer, and adjustment bolt will be used as the adjustment hardware.
 ( 345 ) 28-May-2013
Eventually the hardware will be held in place with an oak retaining flange.
 ( 346 ) 28-May-2013
Here I am trimming away the wings of the neck blank.
 ( 347 ) 28-May-2013
And I use the router table to trim the neck flush with the fretboard.
 ( 348 ) 28-May-2013
I use this special power rasp to trim the thickness of the neck and shape the volute.
 ( 349 ) 28-May-2013
After mounting the neck on a right angle support I start to shape the neck.
 ( 350 ) 28-May-2013
The heel is shaped on the belt sander.
 ( 351 ) 28-May-2013
 ( 352 ) 28-May-2013
And the volute gets trimmed some more.
 ( 353 ) 28-May-2013
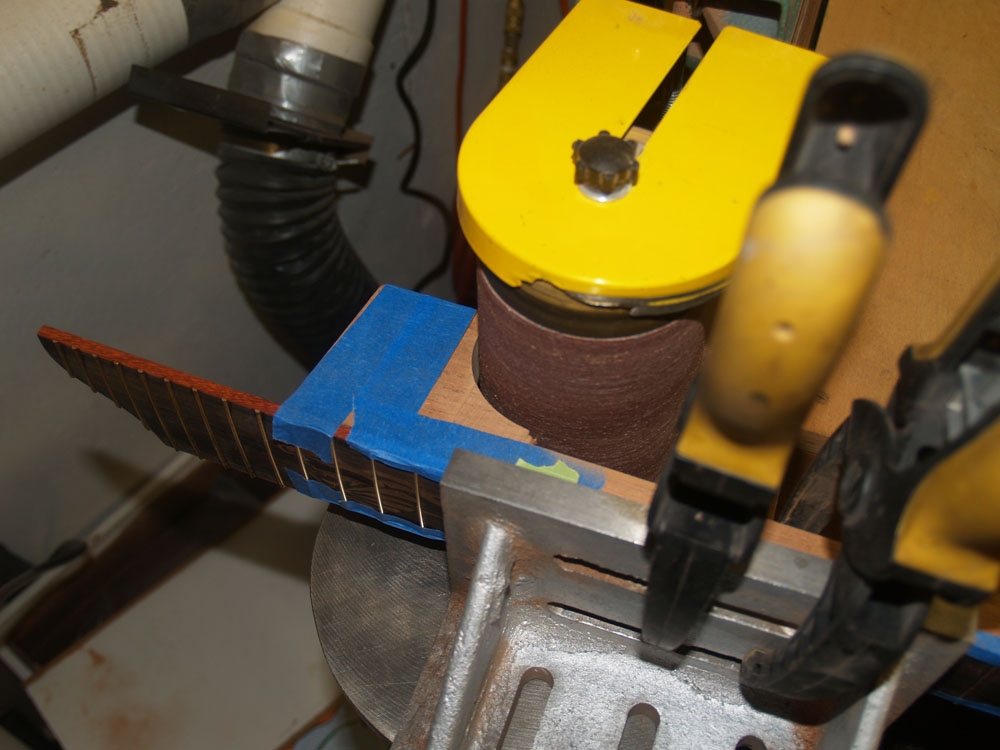
With blue tape I have masked off areas of the neck I don't want to touch.
 ( 354 ) 28-May-2013
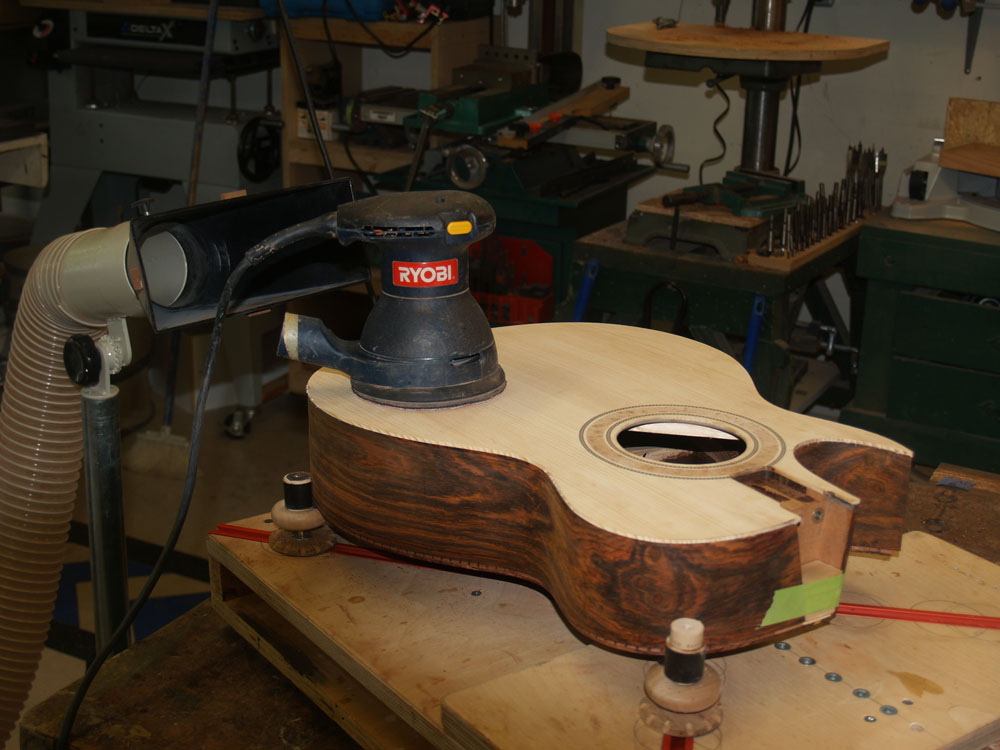
After roughing in the shape with the belt sander, I use a hand held sander to fine tune the shape. I am creating a lot of sawdust, so I work over a funnel on my dust collecting system.
 ( 355 ) 28-May-2013
I use progressively finer sandpaper to give the neck a most smooth surface.
 ( 356 ) 28-May-2013
I created this contour measuring tool to check the shape of the neck down its length.
 ( 358 ) 28-May-2013
And here is the guitar with the neck in place.
 ( 359 ) 28-May-2013
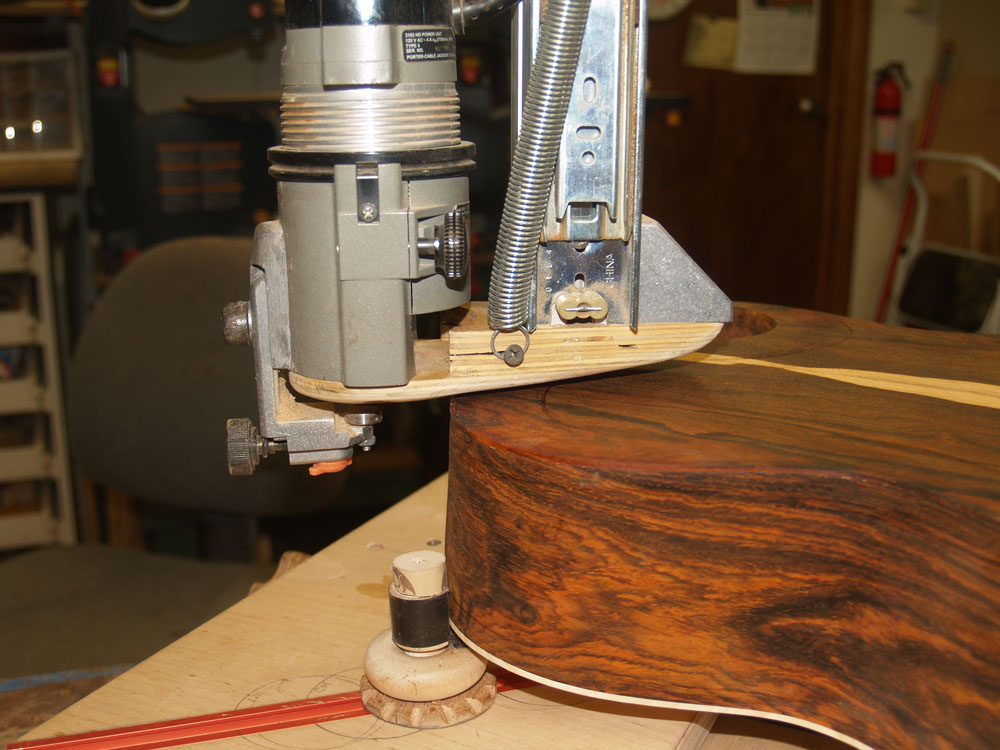
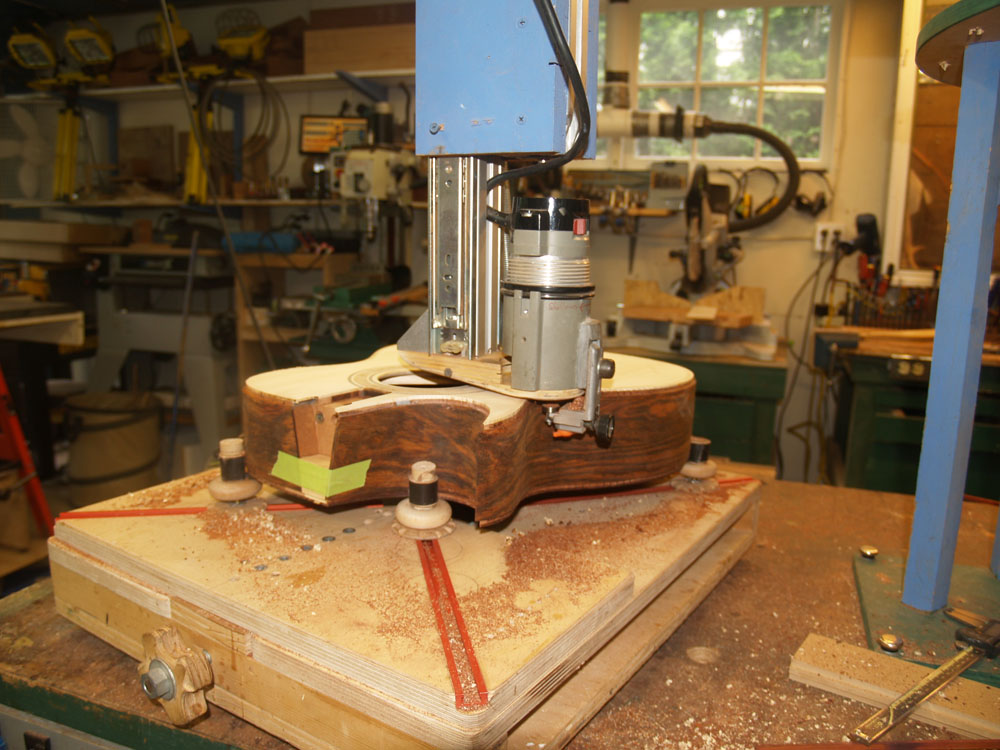
Now on to the binding. I have set up my universal bindalator to rout the channels for the binding. This tool hold the router parallel with the sides while letting me move it around the body.
 ( 360 ) 28-May-2013
The platen on the router is bowl shaped so only the area near the bit is in contact with the wood. This setup is necessary because the back and top have a spherical shape.
 ( 361 ) 28-May-2013
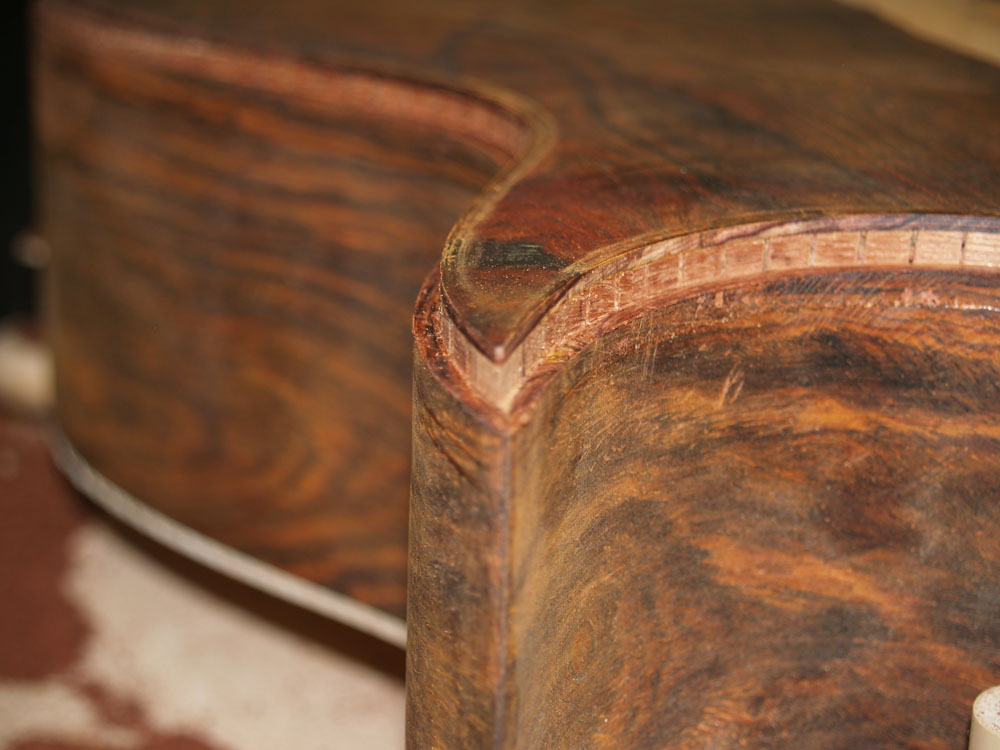
Here is a look at the channel at the point of the cutaway.
 ( 362 ) 28-May-2013
 ( 363 ) 28-May-2013
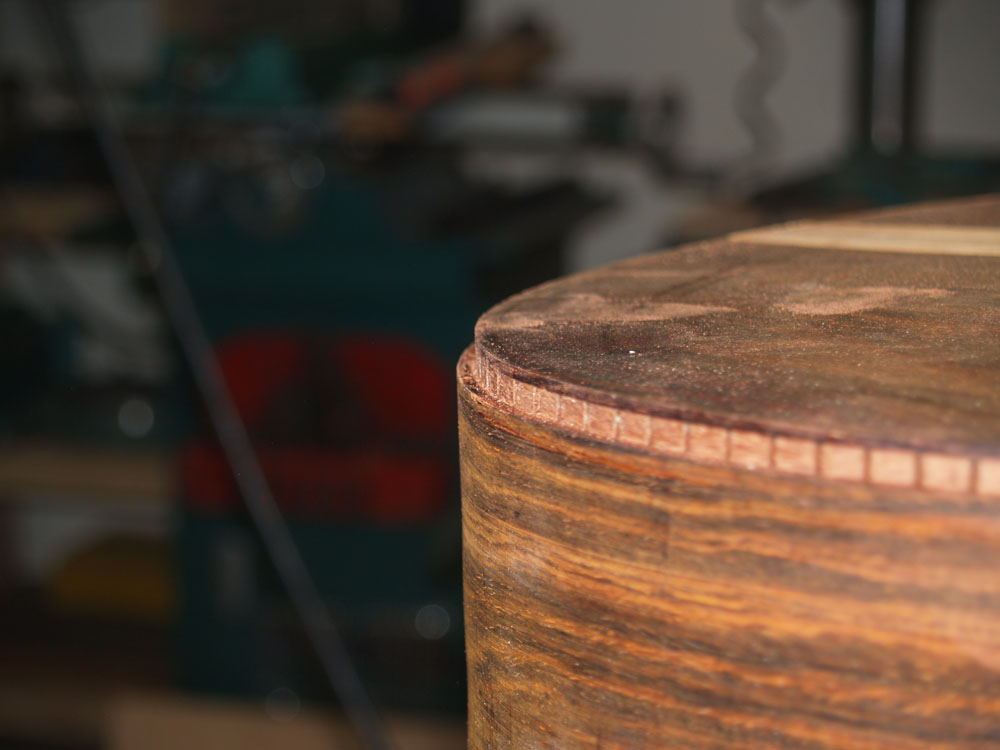
You can see the inside portion of the kerfing as the channel is cut.
 ( 364 ) 28-May-2013
Before working on the top I thin the edges down to about 70 mil to promote freer movement of the top resulting in a more responsive acoustics.
 ( 365 ) 28-May-2013
Because of the compound curve in the cutaway section I need to use a handheld router to make the channels.
 ( 366 ) 28-May-2013
The top gets an addition channel for the purfling.
 ( 367 ) 28-May-2013
Here is a look at the cutaway section with the channels.
Next up is installing the binding.